How to Set the Clock & Autobrew on a Keurig K-Duo
What if I told you there’s a way to wake up to the smell of freshly brewed joe without lifting a finger?
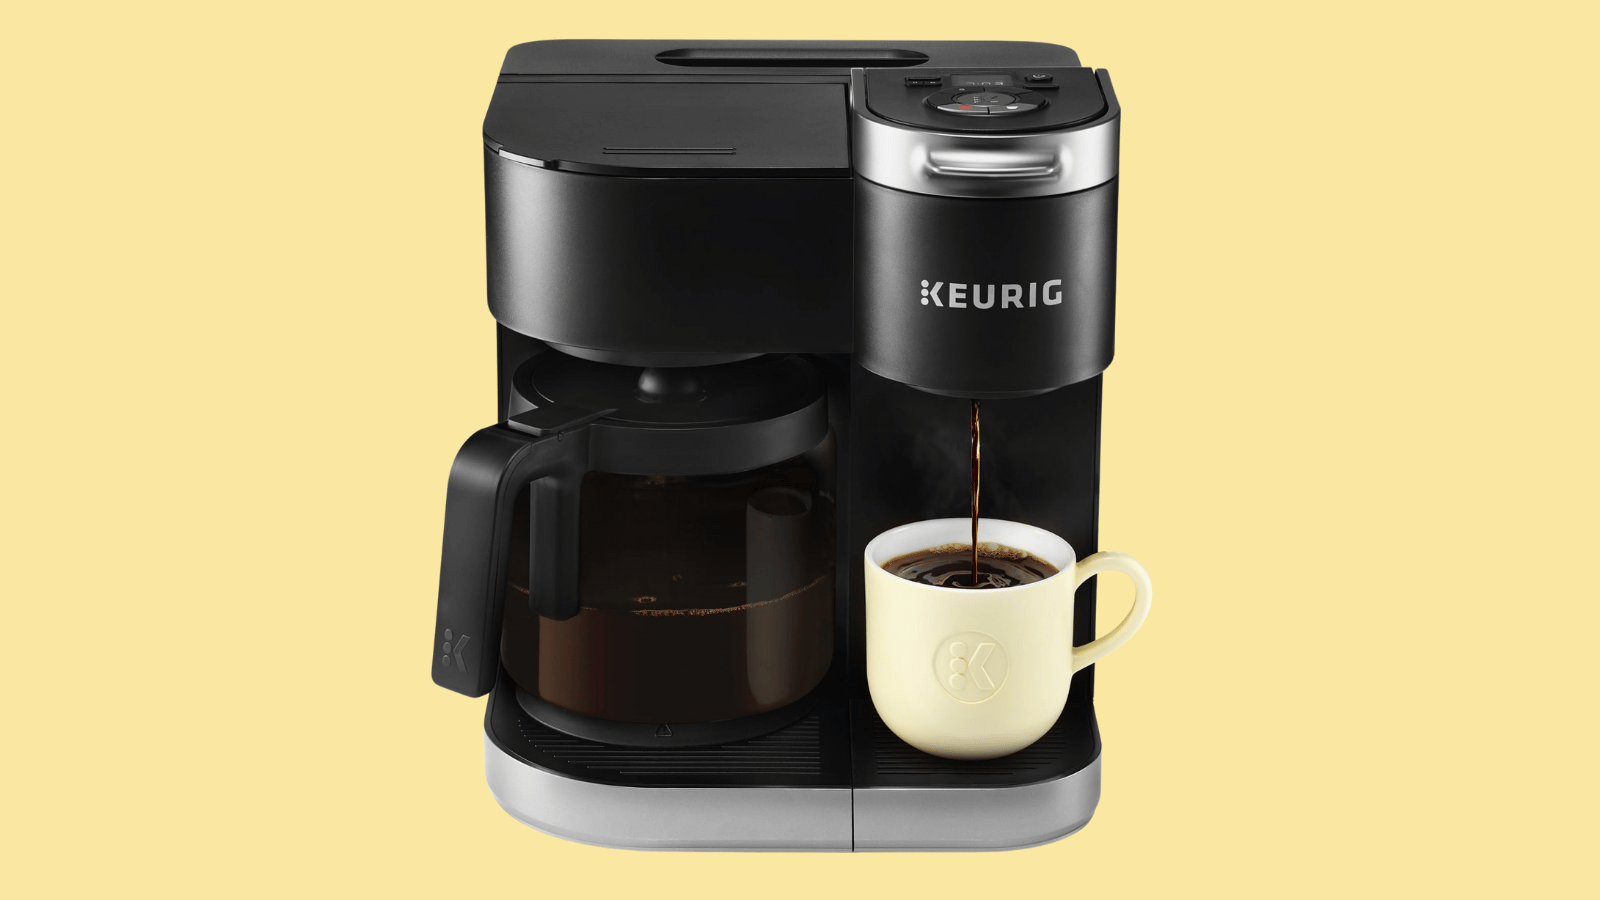
Enter the Keurig K-Duo. One of the features of a K-Duo that can be very useful is its built-in clock. With a built-in clock on a K-Duo, it allows programmable brewing that will let you have a fresh cup of coffee the moment you wake up.
I know, I know. You’re probably thinking, “Patricia, that sounds amazing, but I can barely set the clock on my microwave.”
Don’t worry, I got you. We’re about to dive into the thrilling world of Keurig clock-setting. (Okay, maybe not thrilling, but definitely useful.)
Setting the Time on A Keurig K-Duo
Video from Jim McLaren YouTube
If your K-Duo is new or the time got messed up because of a power outage, setting the clock on the correct time is easy to do.
1. Plug and Power Your K-Duo
To start setting the clock on a K-Duo, make sure that the brewer is plugged in. Press the power button, located just at the side of the clock display, to turn on the machine.
2. Set the Hour and Minutes
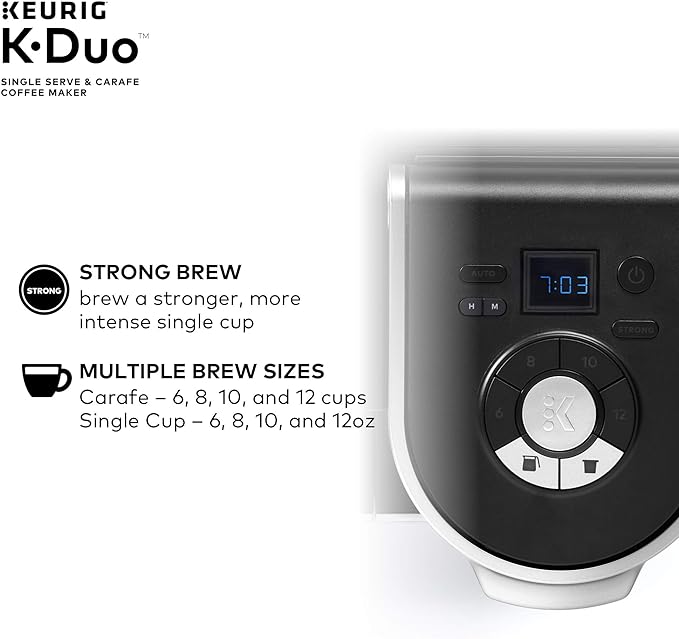
Once the K-Duo is plugged in and powered on, press and hold the H button for about 3 to 5 seconds. The clock display and the brew button should start blinking. This means that you can set the time on your K-Duo.
To set the hours, just press the H button multiple times until you get to the correct hour. The clock display will indicate PM for the time after noon.
Once you’ve set the hour, you can proceed to change the minutes. To do that, press the M button multiple times until you get to match the correct time.
3. Finish Setting Up the Time
Once you have set the correct hours and minutes, press the brew button to confirm your time selection.
If you don’t press the brew button after setting up both the hour and minutes, the clock will revert back to the time it was before you set it. If this happens, you will have to repeat the whole process again.
4. Press the Power Button
You can press the power button again to turn off the machine if you won’t be using the K-Duo. The time on the K-Duo should be the correct time already.
Setting the Auto Brew on a K-Duo
The auto-brew function of a K-Duo is great if you want to spend a little bit more time getting ready in the morning than waking up early to prepare your cup of coffee.
Remember you can set the brew time on the K-Duo up to 24 hours ahead.
Before setting the auto-brew on, the time on your K-Duo should be correct. If it’s not, follow the step-by-step process above on how to set the clock on a K-Duo.
The auto-brew function of the K-Duo also only applies to the carafe, so you’ll have to brew a whole pot if you want to set the brew time in advance.
1. Fill the Water Reservoir
Since you will be setting the K-Duo’s brew time in advance, you want to make sure that the water reservoir is filled.
Fill the water reservoir with fresh water until the MAX line and make sure to not overfill the reservoir.
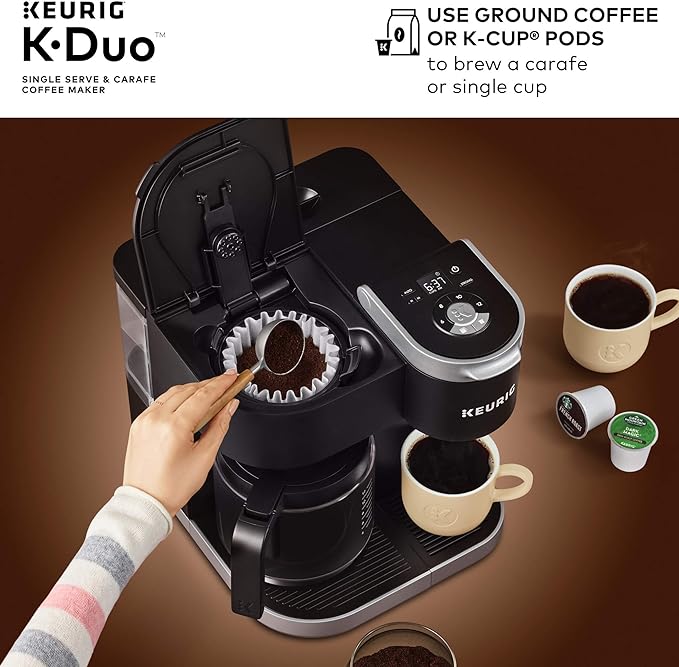
2. Prepare the Filter and Coffee Grounds
Once you have filled the reservoir, place the filter and add your coffee grounds to the machine.
Press the power button and the Pod and Carafe buttons should blink.
3. Press the Carafe and Auto Button
Once the Carafe buttons begin to blink, press the Carafe button and then press the Auto button.
The Carafe button should be on the bottom left-hand side of the control panel if you are facing the K-Duo. The Auto button will be on top of the H and M buttons.
4. Set your Preferred Brew Time
Once you’ve pressed the Carafe and Auto buttons, the clock display should start to blink. It might also reset the time but don’t worry since you will be setting the clock again.
Setting the auto-brew time is the same process as how you would set the normal time on a K-Duo.
Press the H button to set the hour while press the M button to set the minutes.
5. Press the Brew Button
After you have set your preferred brew time, press the blinking Brew button to confirm your time selection.
6. Select the Brew Size
After confirming your brew time, select the brew size that you want. You can choose between 6, 8, 10, or 12 ounces. Press the button of your preferred brew size and press the Brew button again to confirm your selection.
7. Check for the Clock Icon
If you have successfully set the auto-brew function, you should see a clock icon on the clock display screen. Now, you just wait for your coffee to brew!
Troubleshooting Tips
Setting up the clock and auto-brew function of a K-Duo can be easy but it’s possible that you may face some troubles along the way.
If you can’t set the clock, try to unplug the brewer and wait for about 30 seconds to plug it back in. You also want to make sure the power button is on and lit before pressing the H button to set the time.
If you’ve successfully set the auto-brew on but your coffee did not brew, there might be a chance that your K-Duo needs descaling. Calcium, oil, and mineral deposits may have clogged the pathway and disrupted the flow of water preventing the machine from functioning properly.
Descaling your Keurig can remove and unclog your machine. You can also call Keurig customer support if you’ve done all you can and you can’t still set the time or you are facing other problems with your Keurig.
Final Thoughts
Now that you know how to set the time on a Keurig K-Duo, you can start scheduling your daily brew during your preferred time.
You can have the brew time in the morning for a fresh cup before you start your day or just set the brew time whenever you like!